 FreeStyle Libre 2 Sensor
 FreeStyle LibreLink App
 FreeStyle Libre 2 Reader
 LibreLinkUp App
  LibreView


^ Finger pricks are required if your glucose readings and alarms do not match symptoms or expectations.
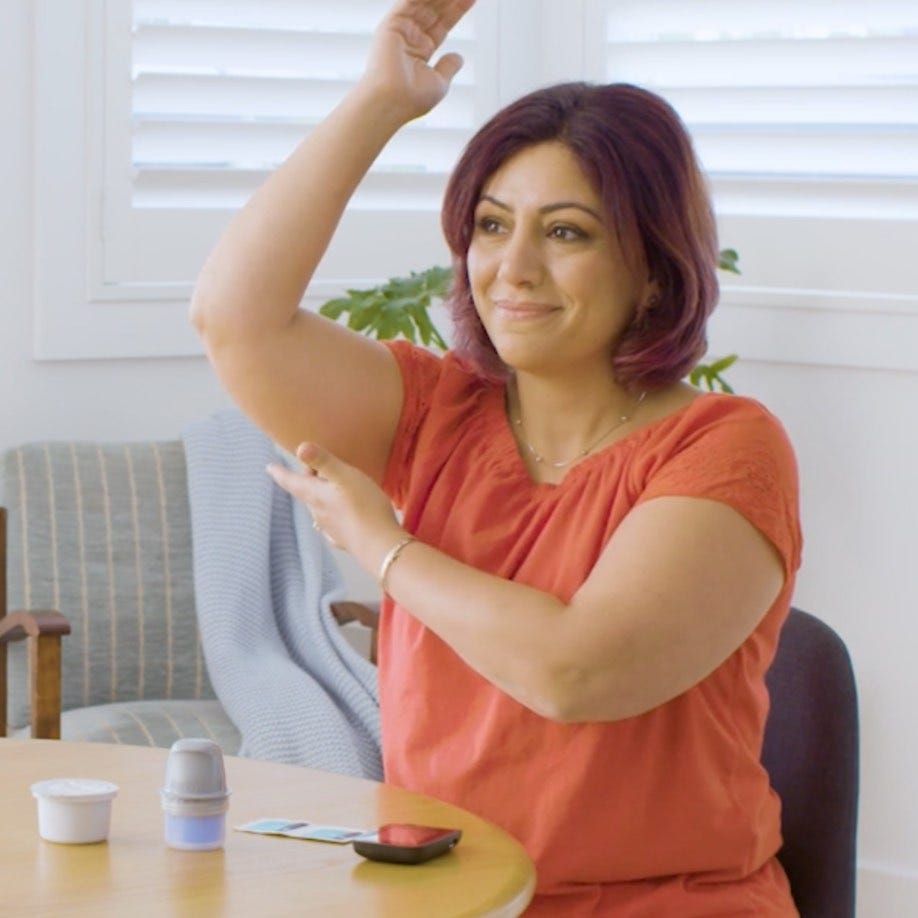
Step 1 — Before you apply the sensor
The back of the arm is the recommended and approved application site.
Do not use body lotion or cream where you'll apply the sensor, as they may leave an oily residue on your skin.
Body hair can interfere with sensor adhesion. Choose an area with the least hair or consider shaving the site.

Step 2 — Preparing your skin
Wash Only use non-moisturising, fragrance-free soaps to wash the area where you'll apply the sensor.
Clean Use an alcohol wipe to clean the site and then allow skin to air dry (do not blow on it).
Dry Allow your skin to fully dry before applying the sensor. This is especially important if you plan to apply the sensor after you shower or swim.
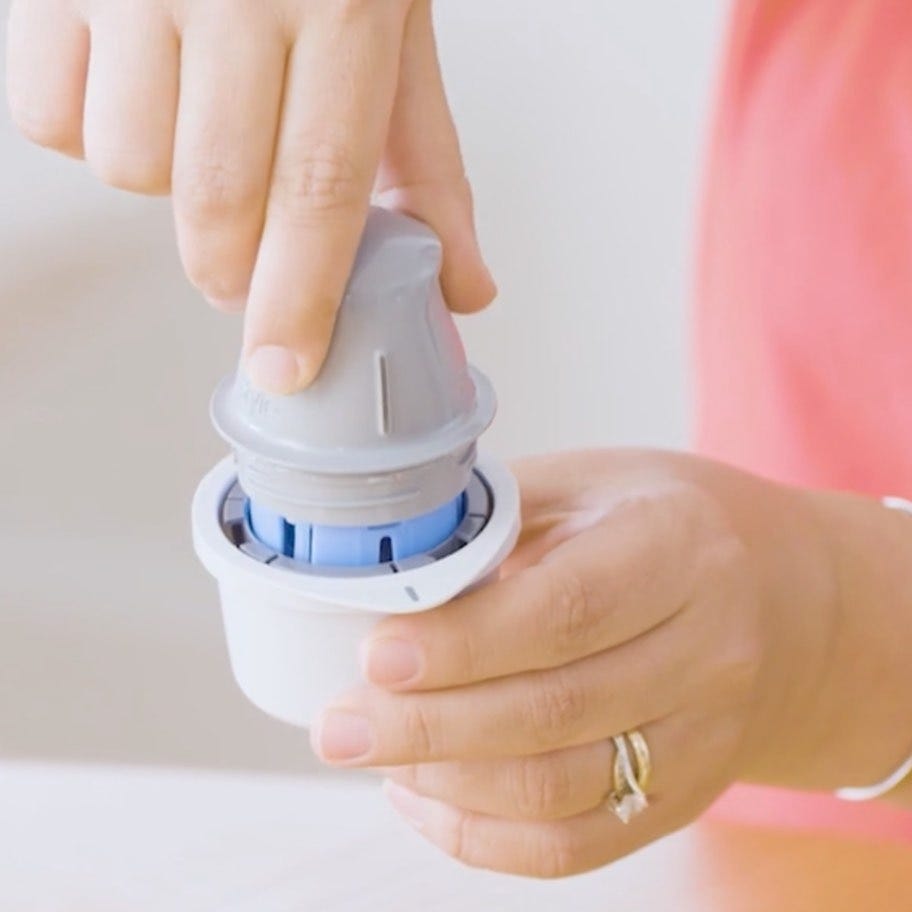
Step 3 — Prepare the sensor
Peel back and remove the lid from the sensor pack.
Unscrew the cap of the sensor applicator. You will hear a click.
Align the line on the sensor applicator with the line on the sensor pack.
On a flat surface, firmly push the sensor applicator onto the sensor pack. IMPORTANT: This must be performed on a flat surface for proper sensor connection.
Remove the sensor from the sensor pack. The sensor is now attached and ready for application.
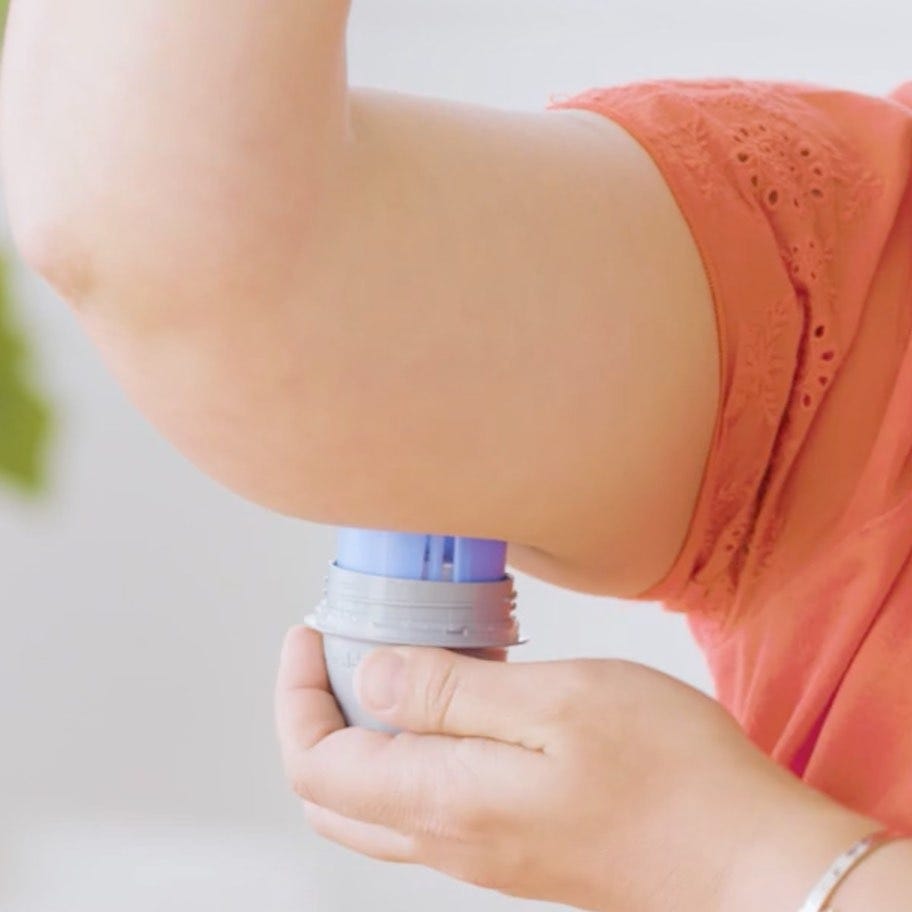
Step 4 — Applying your sensor
Place the sensor applicator on the cleaned area. Keep your fingers clear of the blue panel.
Push up firmly until you hear a loud click.
Gently remove the applicator from your arm.
Make sure the sensor is attached firmly. Gently smooth the tape around the sensor to increase adhesion.
Sensor adhesion tips
Helping the sensor stick
Check the sensor adhesion daily and if it is lifting, apply a medical grade adhesive, bandage or tape over the sensor. Make sure the opening / hole in the centre of the sensor is not covered.
Removing the sensor
residue on skin.
*Abbott Diabetes Care is not affiliated with the manufacturers of the products listed. Reference to third-party products does not constitute or imply an endorsement, recommendation, sponsorship or favouring of any product or manufacturer. Abbott Diabetes Care is not responsible for the completeness or accuracy of any information regarding third-party products. Abbott Diabetes Care makes no representations, expressed or implied, regarding third-party products or their manufacturers, quality or suitability for you. Manufacturers’ instructions for use of each product should be followed.
It’s easy to keep your sensor in place with a little extra care

Easy does it
Be careful not to catch your sensor on a doorway, car door, seat belt or furniture edges. Select a site on the back of your upper arm that will minimise the risk of knock off.

Hands off
Avoid touching, pushing, or pulling on the sensor. Also, you (and those around you) should not touch, scratch, or pull on the adhesive around the sensor, even if the adhesive has begun to peel.

Getting dressed
When dressing or undressing, take care to avoid catching your undergarments on the sensor. Give your sensor room to breathe by wearing loose-fitting clothing and lightweight material.

Pat dry
The sensor is water resistant, but use extra care when cleaning around the sensor and when toweling off so that you do not catch or pull off the sensor. The sensor is water-resistant in up to 1 metre (3 feet) of water for a maximum of 30 minutes.
A step-by-step video guide to learn how to apply the FreeStyle Libre 2 sensor
The only the position under the arm has been clinically evaluated and approved for use of the FreeStyle Libre 2 sensor. It is applied on to the back of the upper arm with a simple, disposable device called an applicator. When the sensor is applied, a thin, flexible and sterile fibre is inserted just under the skin. It is held in place with a small adhesive pad.
This product should be disposed of in accordance with all applicable local regulations related to the disposal of electronic equipment, batteries, sharps, and materials potentially exposed to body fluids.
This means the used applicator and sensor pack should be disposed of in a Biohazard Sharps bin - Clinical waste referral is required from the district nurse or GP, but the majority of people with diabetes will already have the necessary arrangements in place.
FreeStyle Libre 2 sensors are programmed for sale in a specific market and are compatible with readers sold, compatible apps and software downloaded in that market:
- FreeStyle Libre 2 sensors in one market are not necessarily compatible with FreeStyle Libre 2 readers or apps from other markets.
- FreeStyle Libre 2 users should plan on purchasing sufficient sensors from the same country they purchased their reader or downloaded their app from, to last the duration of their travel.
- If planning a longer-term trip overseas, it is advisable to obtain a new reader or download a compatible app and software from that country, to be able to purchase and use the sensors available in that country.